If you are moving out of your rental soon, here is how to quickly repair some minor damage the easy way to secure you get your deposit back!
Moving out of a rented home feels like a quiet balancing act between excitement for what comes next and the stress of what’s left behind. There are boxes to fill, cupboards to clear, and that lingering worry about the deposit that could so easily slip away. Taking time to restore the little details you once overlooked can make your farewell both graceful and rewarding.
Understand Why Small Repairs Matter
A home that looks cared for speaks volumes. When the property manager enters and observes neat walls, sturdy handles, and naturally shining floors, it signifies a tenant who has shown respect for the space. Everyday wear is expected, yet scuffed paint, cracked tiles, or broken blinds can give a sense of neglect. Ignoring small damage often costs more later. Landlords may hire expensive contractors and subtract the charges from your deposit, leaving you to pay for work that could’ve been avoided.
A few minutes spent filling tiny holes or tightening fittings saves far more than it costs. It also sets a good example for future tenants, showing that a rented property deserves the same attention as any owned home. If you ever feel uncertain, look up simple guides or short tutorials. Many community workshops now teach quick fixes, from sealing minor cracks to patching wall paint, and learning such skills can help you keep your living space well-maintained wherever you move next. Knowing how to handle small mends builds quiet confidence that follows you from one tenancy to another, helping you care for each property as though it were your own.
Restore Everyday Wear with Simple Fixes
Every room tells its own story, and small marks often show where life has happened. Rather than seeing them as faults, think of them as reminders that can be gently smoothed away before you hand back the keys.
Start with the walls. Tiny nail holes or faint cracks are easily filled using a small amount of spackling paste. Smooth it with a knife, let it dry fully, and apply a coat of matching paint for a seamless finish. For more noticeable patches, sand the edges lightly first to avoid uneven texture.
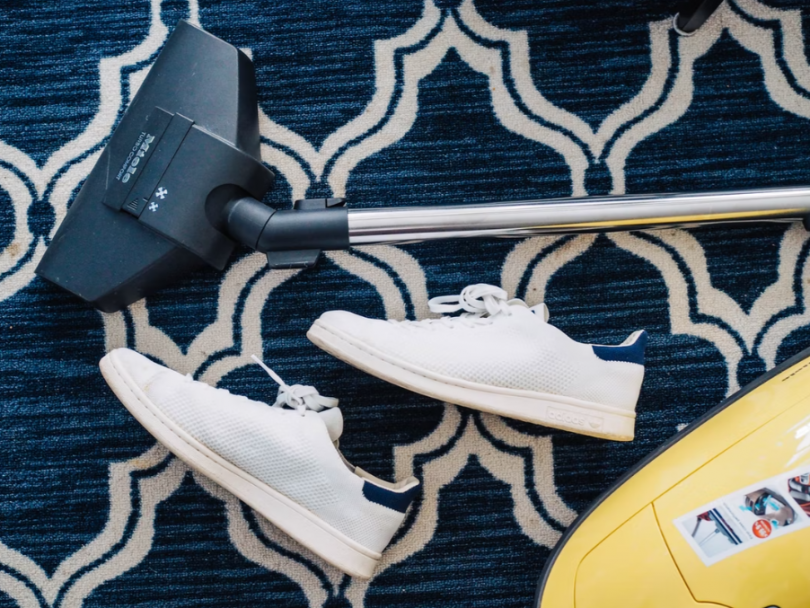
Floors deserve similar care. A soft cloth and mild soap will lift most scuff marks from wooden surfaces. Where scratches are deeper, apply a wood-restoring product that blends with the grain. For carpets, gentle dabbing with a solution of white vinegar and warm water works well on stains. If marks persist, booking a trained cleaner is worthwhile, as their equipment reaches deep within the fibres and removes what home vacuums cannot.
Refreshing doorframes, handles, and skirting boards adds the final touch. A single evening devoted to these finishing details transforms tired rooms into spaces that feel newly polished and ready for inspection. Adding a faint touch of polish to wooden trims or handles also helps everything appear brighter without needing a full replacement.
Record and Review the Property’s Condition
Once the repairs are done, take a quiet moment to look around your home. Photograph each room in clear daylight, capturing the condition of the walls, floors, and fittings. These records serve as calm reassurance if a dispute ever arises about your deposit. It’s also wise to arrange a brief walk-through with your landlord or letting agent before the final handover. Addressing concerns together prevents misunderstandings and shows that you’ve handled the process responsibly.
Keep receipts for any products or small repairs too, as proof of your effort. In some cases, landlords appreciate seeing how you improved the space, which can make them more flexible about minor imperfections left behind. Being open, polite, and organised builds trust at a time when clarity matters most.
It can also lead to a helpful reference for your next rental, as good tenants are often remembered for how well they left their previous homes. When possible, ask for written confirmation that the property meets expectations after your final review. This extra step ensures that all parties agree and gives you peace of mind long after the move.
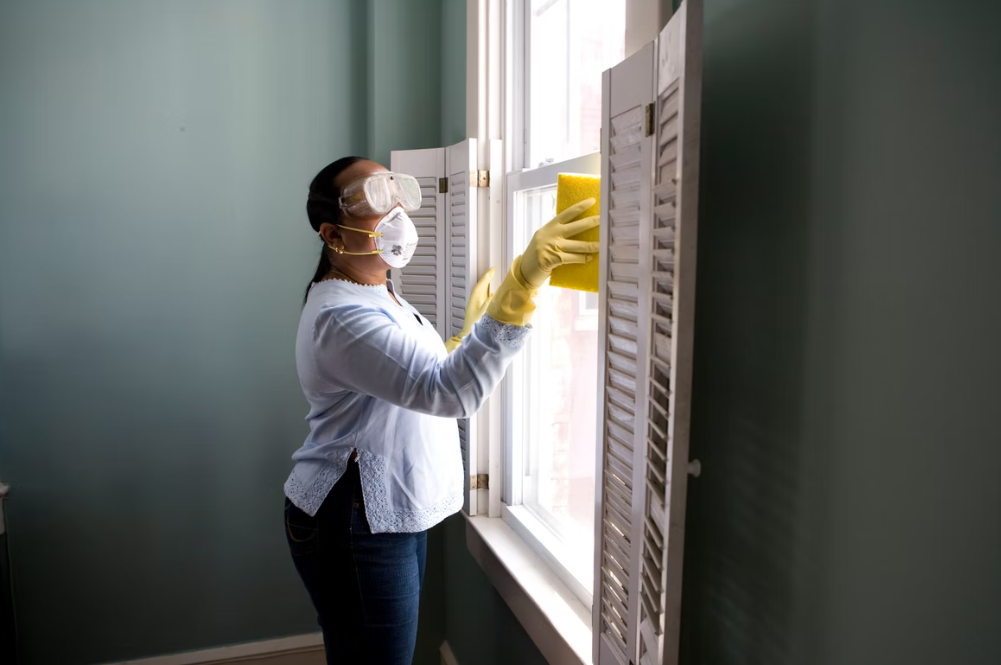
Clean Thoroughly for a Lasting Impression
Repair and cleaning go hand in hand when preparing to move. A home can look neat on the surface, yet miss the sparkle that makes it inspection-ready. Kitchens and bathrooms, in particular, need detailed attention since these are the first areas landlords check. Wipe every surface, scrub tiles, and polish taps until they shine. Clean windows, vacuum corners, and dust light fixtures to lift the overall brightness of the space.
Even a faint smell of fresh air can leave a better impression than the strongest scent spray. Don’t forget behind appliances, as hidden dust or crumbs can quickly undo hours of hard work. For those balancing work and moving, calling in qualified assistance can save precious time. Specialised tenancy cleaners understand what property owners expect and use powerful equipment that removes stubborn grime from ovens, tiles, and carpets.
They can transform a home overnight, ensuring it looks spotless for inspection and helping secure the full return of your deposit. If you choose to clean on your own, start early and focus on high-impact areas. Finishing these sections first gives you momentum and keeps stress low in the final days before departure.
Plan Ahead and Meet Your Lease Obligations
Organisation is the quiet key to a smooth move. Begin several weeks before your notice period ends so you can repair, clean, and inspect without rushing. Even an hour per evening adds up to remarkable progress.
Revisit your tenancy agreement carefully. Some contracts list specific requirements such as carpet shampooing or professional window cleaning. Understanding these obligations early prevents last-minute surprises and unnecessary expenses. If anything is unclear, contact your letting agent or landlord directly rather than guessing.
Clear communication protects both sides and allows you to focus on what truly matters—leaving the property in good order and closing this chapter with confidence. Creating a checklist can also help. Include everything from minor fixes to returning keys, and tick off each task as it’s completed. This small act brings a sense of calm control, making even the busiest moving week feel manageable. Another helpful step is to coordinate your utility accounts and change of address early.
Not only does this prevent extra charges, but it also ensures that final readings and bills are accurate. Leaving your home in order, both physically and administratively, shows integrity and care that landlords always value.
Conclusion
Leaving a rental in good order is simply a matter of patience and care. By fixing small faults and finishing with a thorough clean, you protect both your deposit and your reputation as a thoughtful tenant. A calm, organised farewell always sets the tone for a confident new beginning.