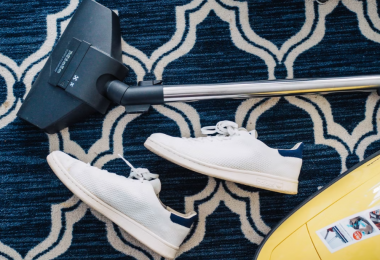
Even though hardwood floorings are totally in right now, and people pay big money to get them installed, you wouldn’t let your kids crawl around and explore them bare, right? That’s why you need to get some kind of barrier in between the two, to protect your floors, and to protect your little ones as well from any possible splinters and from the cold.
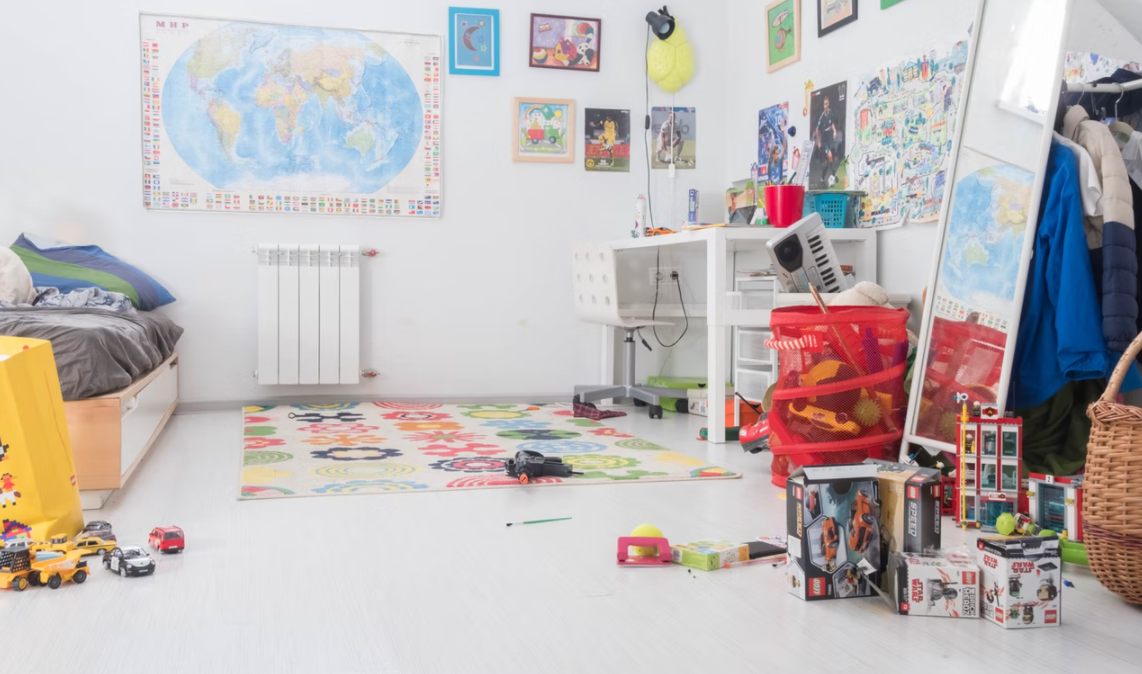
For the kids’ room, you’ll need an area rug that will make the room look playful and will stimulate your child’s development as well. Look for bold rugs, with nice color and an interesting pattern to them, that will make the little ones curious. The whimsical area rugs provide you with both of the qualities mentioned above, and they are super warm as well. Here’s how to choose a rug for your children’s room:
Material
One of the three main things when it comes to picking out a rug, and it can vary depending on your room, the style you’re going for, and your personal preferences. If you’re looking for a rug that’s easy to maintain, cotton area rugs are your best choice. Eco-friendly rugs made from recycled plastic are also pretty appealing, so is the nylon, but they can sometimes be treated with harsh chemicals, so you need to be careful. Wool is also commonly used, it rarely causes any allergies, and you can easily maintain it. Avoid thick rugs because they catch crumbs and can be stained and ruined easily.
Color
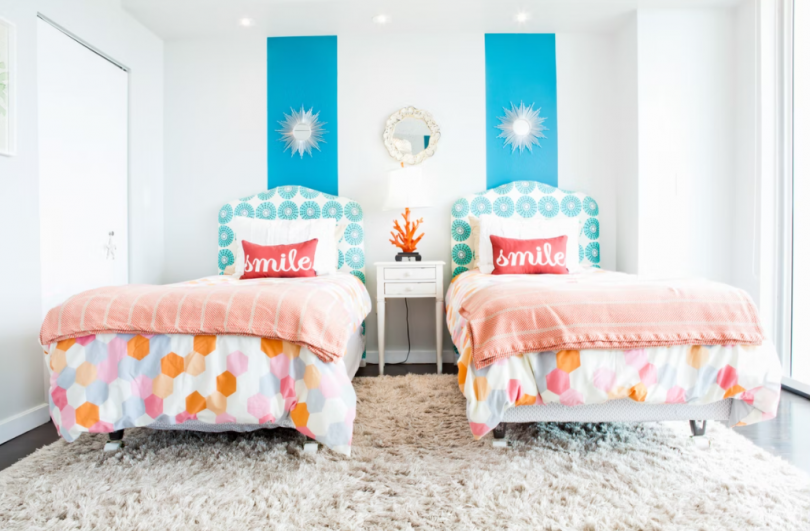
If your kids are too young to have an opinion on the rug in their room, then you have all the freedom in the world. But, once they get older, they’ll show off their personality and you’ll be able to take them rug shopping with you. It’s going to be a great experience and time spent together, but for now, stick to your own style. For small children, you need to get a bold area rug with a nice texture to it. This will stimulate your child’s development and creativity, while also giving the room some style. As they get older, pastels and neutrals will become more of their thing, so enjoy the colors while you still can, because you’ll definitely miss those moments.
Pattern
Patterns are another great addition to your rugs. They can be anywhere from complex to simple, and they can complement the room theme. For example, if you have a little kid that loves space and rockets, you can get a dark rug with a space theme to it. It’s going to be your child’s favorite place. If they love animals, get them a rug with their favorite animals. As they grow older, you’ll notice their main interests and you’ll be able to surprise them with a new area rug that will suit their personality just fine.
Shape
It’s a kids’ room after all, and you want it to be welcoming and playful, so avoid any serious designs. You can go for classics, such as a rectangle, square, oval, or circle, but you can unleash your imagination and go for some asymmetrical shape as well. Plus, there are some cool animal-shaped rugs as well, so you can check them out as well. Either way, if you want to stick to the classics, the pattern and texture will be just enough to make the room playful and joyful.
Size
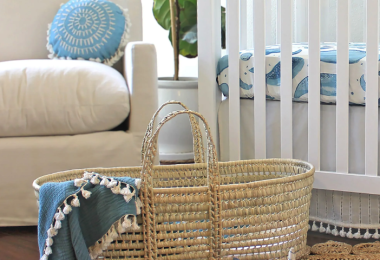
The size of the rug completely depends on the size of the room and the furniture inside it. For a nursery, you have two main options: a rug that will sit independently, going well with the rest of the room, or a rug that is slightly bigger and covers the front legs of the crib. For your small children, you can get a bigger rug that will go directly onto the floor, or on top of a carpet, so that it provides comfort, warmth, and a great space to play, draw, relax. For your teen’s room, Aim for something more elegant, and choose a rug that will go under the bed and extend slightly to the sides, just enough to provide them with a warm surface to land on as they get out of bed.
Safety and warmth
Flatweave rugs are great for your kids’ room because you can vacuum them and the cleaning process is quite simple, but they are also pretty slim and provide less warmth. To increase the comfort, either put a carpet under the rug or invest in an under rug mat that will act as a barrier between the floor and the rug. The second most important thing is to prevent slipping and wrinkling of the rug. You can achieve this by investing in liners for your rug, that will keep it in place, and it will also protect the material.