Decorating ideas How To Shop the Room!

How to Arrange Wall Art for Flawless Display in Living Room

Figuring out the wall art arrangement is one of the problems you often face in interior designing. Unfortunately, when you hang wall art improperly, it sticks out similar to a sore thumb. But getting the right wall art arrangement can be daunting. The way you display wall art is critical when you talk about home decor. You must know some of the unspoken tricks that you must follow. It is a wonderful way to add interest and style to the interiors.

Follow the tips below to arrange the art pieces like a professional and dress walls of a room for an impressive look:

Match Artwork to Interiors

There are many types of artwork including, trending abstract art, photo collage, metal prints, etc. So, choose pieces for the walls that match with other colors of space. Your art piece can introduce an extra accent shade, but it should complement the overall scheme.

Your living room is much more than the transit space. It gives the first impression and is a way to determine how other rooms will look. So, decorating it with art pieces is the perfect business card.

Design a Gallery Wall

Do not worry if you don’t have a big piece to fill blank space and create a focal point. You can showcase smaller pieces you have by designing a gallery wall. You can arrange artworks in grid form or showcase asymmetrical designs. If you put all the art pieces in similar frames, it will create a uniform look. However, if you mix and match frames with different textures or colors, it will give a vibrant and unique view.

Keep Spaces Between all Frames

If you display more than one art piece, always keep enough space between frames to avoid uncluttered wall arrangement. Make sure to leave at least 1 to 2.5 inches of space in between smaller artworks. However, if the wall art size is big, keep 2 to 3 inches of space minimum to achieve a balanced or professional look.

Size Matters a Lot

In the case of wall art displays, size plays a vital role. Choosing the more miniature artwork is as bad as selecting oversized print. So you can take a picture of a wall. Check if the painting consists of light colors; its size will look smaller than the original. At the same time, art pieces made of darker shades absorb the surroundings and create a feeling of a bigger size.

Install Floating Shelves on a Wall

Floating shelves are an innovative and intelligent way to add 2-D art pieces in the empty space. These shelves do not cost much and are easy to create. You just need a plank to attach with the blank space. Then, paint that plank with the same shades as the rest space. Since shelves will blend in on the vertical space, any object like tiny sculptures or books will add a dimension to the room.

Develop a Visual Balance via Artwork

You can hang wall art at any part of a living room, but make sure not to disturb the already set theme. You can usually see art pieces behind the seat or above a fireplace in the common area. You can be a bit creative too. So, while hanging portrait art, take a paper to draw arrows on it. They allow you to indicate the way your subject is observing.

Put Composition

When paintings on a wall have similar sizes, frames, or finishes, they will create a neat result. Its view and outcome are prettier than art pieces with different features. To achieve an asymmetrical composition, always set equal spaces between the art pieces.

The Lean

It is a myth that you can only hang artwork on the walls. But in actuality, you can show off single or multiple art pieces on a long and shallow shelf. To achieve a more casual look, always lean wall art on shelves. Choose different sizes or orientations to have a layered look. If there is extra space, add a small vase or an antique object in front of the artwork to create a visual appeal. Make sure to swap out the art pieces often. This style will look great then.

A Focal Point

A gallery wall makes a statement in the room; similarly, an oversized artwork gives a focal point to the space. It can be a painting, print, photograph, mirror, or other décor elements for an accent wall. It suits well, especially with anchoring large furniture items like bed, sofa, desk, etc.

Bonus Tips

While creating a wall art display, test your arrangement before hanging the art pieces. Because sometimes, you are not sure whether you prefer an asymmetrical or grid pattern. So, pick adhesive tape and mock-up the wall display arrangement.

Once you are satisfied with the view, use a hammer or nails to hang art pieces. Always remember to use low-quality adhesive tape to prevent paint from peeling.

Read more
Decorating ideas Shop the Room!

How to Make a Home Tour Video for Youtube

Virtual tours are visual tools that recreate the experience of visiting and walking around a property and are used to explain the non-static representation of the property. Virtual tours such as 3D virtual tours, video tours, and 360-degree interactive virtual tours allow potential buyers to interact with the homes to see their features in detail without being on-site, using list photos and floor plans.

A slideshow with photos set to music is not a virtual tour as it does not recreate the experience of being at the property. Real Estate agents use virtual tours to market offers to leads outside the town, minimize the number of face-to-face screenings, and differentiate themselves from competitors. Home tour videos are an effective way to show buyers what it’s like to be at home.

Video Tours

Video tours are guided walking tours of the property, often narrated by agents to highlight the characteristics and unique selling points of the home. Video tours are the easiest way to create using your smartphone or other sophisticated digital video devices. Video postings aren’t new, but they’re now an integral part of property marketing and sales. We should have a firm grasp on how to make a youtube video so as to get a better understanding of the video tours and also the highlights of the places to visit. Enhance your virtual property tours with engaging visuals and storytelling elements. Consider incorporating a free online video editor to create captivating home tour videos that not only showcase the property’s features but also provide potential buyers with an immersive experience, helping them envision their future home.

Types of Live Video Tours

  • Live video tours
  • Professional video tours
  • DIY Video tours
  • 3D Virtual Tour
  • Interactive 360-Degree Virtual Tour

Prep-work Before you Create a Virtual Tour for Real Estate

  1. Make the necessary updates to improve the look of your home and make it more comfortable.
  2. Make sure to set up your phone camera to a wide-angle setting enabling the Grid Lines in your settings. Finish staging and open all internal doors to ensure uninterrupted navigation between rooms.
  3.  Turn on all lights and open all curtains and blinds
  4.  Quickly clean and polish your home and hide unwanted items that shouldn’t appear on your tours, such as cleaning supplies and trash cans.
  5.  Wipe the camera lens for the clearest image.
  6.  Re-shoot where the camera is unstable or where transitions between rooms appear to be choppy.
  7.  If possible, put yourself in the middle of the room.
  8.  Place the camera between your chest and eye level and let it rest.
  9. In a small room like the bathroom, you can shoot from floor to ceiling in slow motion.
  10.  Stand in the corner of your bedroom and shoot from left to right.
  11.  Slowly rotate the camera from left to right to see the entire room avoiding quick movements.
  12.  Place your foot firmly in the final position before you start shooting.
  13. To make your video as smooth and professional as possible, use the appropriate virtual tour equipment, such as a smartphone or a tripod with a rotating head and phone holder.

A Step by Step Guide on how to make a youtube video for Real Estate home tours

Step 1. Choose the Right Software and Equipment

Many Real Estate professionals avoid virtual tours because they think they need complex, high-end photographic equipment. What you really need is a panoramic or 360-degree camera that is more affordable and easier to use than ever before. Before you invest in software or high-end equipment, compare resolution, remote control depth, battery life, characteristics, price, and stabilizer options to avoid blurry photos. Invest in a robust tripod with a panoramic mount.

Step 2. Sequence Your Shots

Examine each room to find the center and make sure that the camera can capture and highlight the features of each room from that angle. If the center doesn’t work, find a place where the camera captures most of the details and tape it. All rooms are important to potential buyers. Therefore, it is important to include rooms such as walk-in closets, washrooms, storerooms, and mudrooms in your virtual tour.

Step 3. Cover Every Room

Remove everything that gets in the way of the lens and make sure the camera has a clear view of the entire room. Remove from the room anything that makes the room look cluttered or distracts the buyer from high-quality features. Make sure there is enough light in the room so that the amenities and characteristics are clearly visible.

Step 4. Level the Tripod

The tripod should be level to ensure a consistent image. Adjust the legs until the bubble is in the center of the line to level the tripod. Do not try to take a panoramic or 360-degree image without a flat spot on the camera. If there is no in-built bubble level on your tripod, you can install a levelling tool on your phone to keep the angles and lines of your shot straight and non-shaky

Step 5. Take Test Shots First

Highlight the features you want to show to your buyers. If the room looks too dark, add more lighting or adjust makeup for it. Stage objects in the room precisely if you notice something distracting. Pay attention to glass, mirrors, or windows so that your reflection doesn’t appear in the video. You can choose a different location when operating the camera remotely.

Step 6. Include All Photos

Once you have the correct camera settings, you can move to any room in the photo list and take a picture. Find the marked location in each room, set up a tripod, and take a picture. Check each photo and retake the footage if necessary. Make sure you have the entire stock of pictures handy before you move on to the next room.

Step 7. Create Your Virtual Tour

Once you have all your photos, use the software you selected in the first step to stitch them together to create a virtual tour. Upload the images and follow the appropriate steps to add a still or panoramic image. The software assembles and combines panoramic photos for 360-degree tours and still images of virtual 3D tours. You can organize your room and prepare yourself for the winters and save money.

Step 8 – Add Extra Features

Most programs can add extra features that enhance the user experience like audio description, interactive links, soothing music, or SEO text. You can find an array of additional features on your chosen software to add to your virtual tour.

Step 9 – Hire a Professional

You can try online solutions such as InVideo to add virtual furniture, modify lighting, edit your photos, and adjust fixtures before joining your photos to your virtual tour. Many professional real estate photographers also offer the creation of virtual tours as part of their photo packaging in addition to traditional real estate video production.

Step 10 – Share Your Virtual Tour

As soon as the virtual tour is over, the software of your choice will provide a link or a code that allows you to embed it on your YouTube channel, website, or social media handles. It will help you promote your list and generate real estate leads at the same time. Create branded and unbranded versions of your virtual tour.

Branding means that your name, broker, and contact information will be visible to the tour viewers that can be added on your social media. The unbranded version is typically used for multi-entry services because agents cannot add branded content to their entries.

Conclusion

Virtual tours give potential leads the opportunity to get ideas about the property and what it looks like. Real Estate professionals need the appropriate equipment, take pictures and upload those images to the tour creation software. Virtual tours are ideal for realtors who want to present their lists using state-of-the-art marketing tools, promote their real estate without relying solely on direct demonstrations, and compete with similar lists in the market.

Read more
How To Shop the Room!

How to Winterize the Home and Save Money

Winter is just around the corner. Days are getting shorter, the weather is getting cold, and there are holidays to prepare for!

For many, winter is a stressful time of year. Lots of people go over budget at the start of the season, then they have to deal with soaring heating bills and damages to the home.  

If you’re hoping to save a little trouble, now is the time to get started. Here are a few ways you can prevent damage, reduce stress, and save money this winter.

Clean up and get organized 

Messy, cluttered environments cause stress and reduce our ability to focus. Start winterizing by picking things up and putting them away. Get organized, make donations, and sell what you don’t need anymore. Selling things online is easier now than ever.

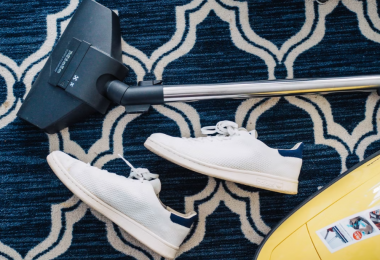
When you’re done tidying up, deep clean your space. Dust, vacuum, mop, and wipe down your furniture. You’ll be happy that you did, and your home will be better protected against pests. Cleaning up is a great way to start any project.

Photos By: Pexels and Unsplash

Pest-proof the exterior

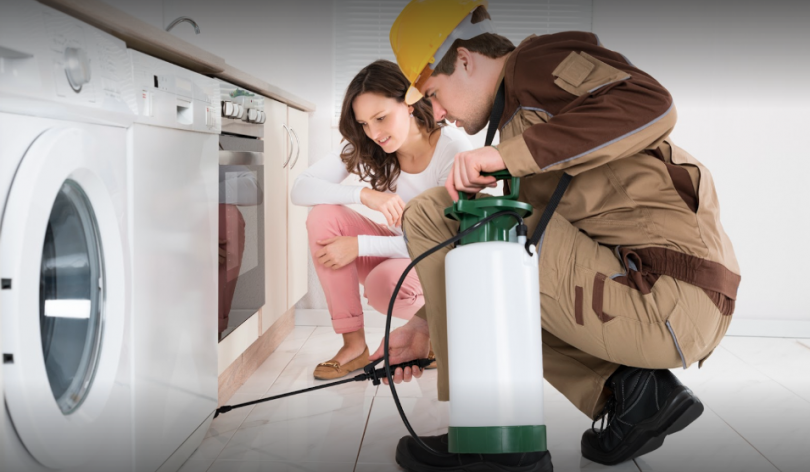
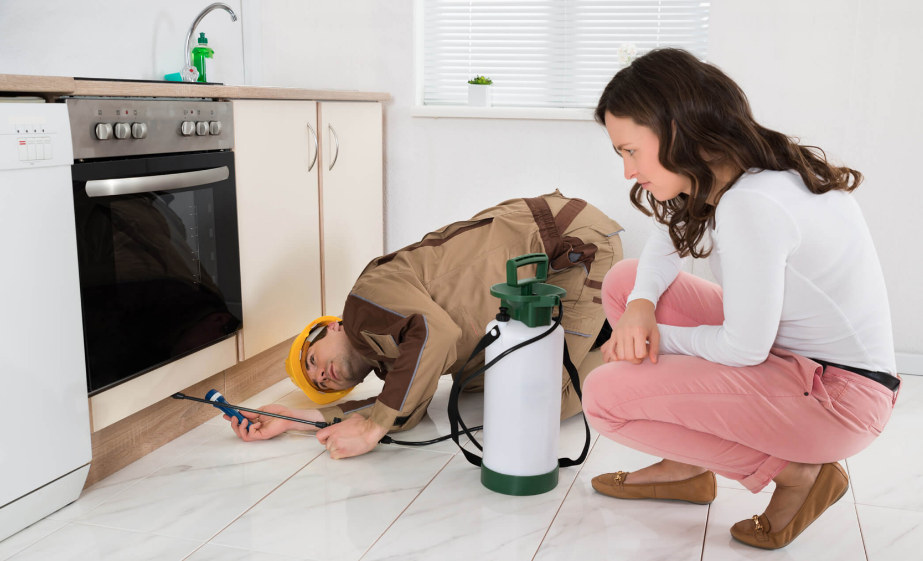
Pest-proofing is often overlooked, but it’s a cost-effective and a great way to avoid a pest problem. Mice, spiders, cockroaches, and centipedes are common in the winter. Grab some caulking and fill every gap you find in your window frames, door frames, fascia boards, and siding. Close the openings around cable lines, faucets, and vents. Then, cover your vents with a quarter inch mesh to keep rodents out. Fix broken window screens.

If you need help, reach out to Cockroach Control Oshawa or another professional near you. They can pest-proof your property for you and get rid of any existing pests quickly.

Fix drafts

Add weatherstripping to your doors and windows to keep the cold out. This will help you save on your heating bills and make you feel more comfortable. You’ll also be preventing any mice from crawling under the door. Visit your local hardware store and find weatherstripping that you can cut and install yourself.

Insulate with thermal curtains and rugs

Windows can lose up to 20 times more heat than the insulated walls around them. To reduce this loss, add heavy drapes or thermal curtains to your windows. Open them during the day to let in the sun, then close them when it gets dark. For bonus insulation, try adding rugs to your floors. You can find rugs at competitive prices online and from off-price retailers.

Shop early for holidays

Book your travel arrangements now, before things run out. You can also take advantage of sales and order things well in advance. Shopping at the last minute might encourage you to make impulse buys and spend more money than you had to. If you start your shopping now, you will know that your items will arrive on time that will save you a lot of stress.

Clean the gutters

Clean the gutters now before it snows and it’s too cold to do it safely. Doing so will prevent serious damages, like flooding in the basement, water damage in the walls, and attic leakages. Scoop all the leaves and debris into buckets, then rinse the gutters clean. Then, you can add gutter guards to prevent blockages in the downspouts.

Cover patio furniture

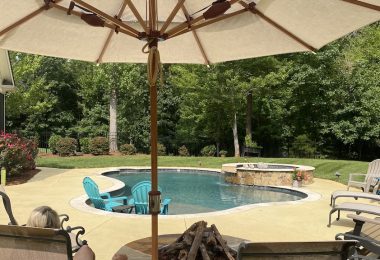
Cover your patio furniture with waterproof covers or put them away in the garage for the winter. This is an easy task that will prolong the life of your furniture, saving it from rust and winter damage. In the spring, simply take the covers off and wipe the furniture down with a cloth. You’ll be ready for patio season in no time at all.

Change the furnace filter

Now is a good time to clean or replace your furnace filter. The filter in your HVAC system gets clogged with dust over time, which strains the system and takes more energy to function. Fixing the filter will only cost a few bucks, but it will save you on your bills and help you breathe better.

Program the thermostat for cold weather

Do you leave the house to go to work? Turn the temperature down a few degrees when you leave, then turn it back up when you get back. Heating may account for as much as 70% of your bill. If you can make the investment, switch to a programmable thermostat so you can set a schedule and it will do it for you automatically.

Take advantage of off-peak hours

Evenings and weekends are typically the cheapest time to do energy-intensive activities, like doing laundry and running the dishwasher. Find your energy supplier’s pricing scheme online, then use your large appliances accordingly. Most places have “off-peak hours” during which it costs less to do the same things. Taking these hours into account will save you money on your energy bills.

Drain the hose and shut off exterior faucets

Remove the hose, drain it, then put it away in the garage or in a shed. Then, close the valve to the exterior faucet and empty it. This will prevent any water from freezing and causing damage to the hose, or worse, causing the pipe to burst.

Read more